Clothing and Makeup:
Preparing for Your Engagement Photo Shoot

We have specific recommendations depending on the location you choose. However, we want you to wear clothes that reflect your personality. It’s all about style and planning. The more time you invest in selecting an outfit for your photo shoot, the happier you’ll be with the results.
Leaving the details to the last minute causes stress and takes the fun out of the day. Don’t hesitate to ask us about color options and accessories.
Clothing
As a general rule, we recommend wearing solid colors, since stripes and patterns draw attention away from the face. We also recommend avoiding turtlenecks and loose-fitting clothes, as these often make the neck appear nonexistent and the body look wider than it is. Also avoid wearing shorts, as they tend to make your legs look shorter than they are.
Colors
Solid, monochromatic colors are easier to coordinate, but primary or complementary colors also look good and stand out in the photograph. Darker colors will make the person look slimmer, while lighter colors will make them look larger. Wearing dark pants or jeans with dark shoes adds texture and makes the portrait more visually appealing.
“When choosing color schemes, consider not only what looks best on you, but also imagine which colors would look best in a frame used to decorate your home.”
Accessories
Avoid wearing hats, hair accessories, or other items that might distract from the main subject, which is the person.
Footwear
To make the photos as appealing as possible, we suggest avoiding running shoes, white socks and heavy footwear. If you want more casual photos, boots or sandals may work well.

Makeup: How to do it for photos
Looking good on camera doesn't require a make-up artist, but professional make-up tips do help. Even if you prefer a natural look, the camera tends to exaggerate and create artificial flaws. These make-up tips help to enhance your appearance even more rather than detract from it in front of the camera.
Make-up suggestions for the camera include a range of corrective and dramatic effects, as well as enhancing a person's natural appearance. The key is to consider that images are two-dimensional, so shadows and highlighted areas may need to be highlighted, not highlighted or even simulated, for the best overall effect.
Before applying makeup, start with smooth, toned and moisturized skin. If necessary, do a facial or exfoliating treatment. This minimizes uneven or artificial makeup application and promotes a healthy, glowing appearance.
Minimize Shadows
Since photos are two-dimensional, the camera makes the subject look older by accentuating dark lines, fine lines, and wrinkles. To counteract this, gently apply a lighter shade of concealer to the darker areas, around the eyes, and on expression lines. Next, using an upward motion, apply a light layer of foundation to the face, including the lips. Blend the foundation at the edges. Except for corrective work, use foundation shades that match your natural skin tone.
Bronzer ou Blush
Various make-up effects can be achieved with blush. Bronzer powder is widely successful and produces a natural or slightly sculpted appearance, depending on its application.
To apply powder blush, remove any excess from the brush and gently apply it to the apples of your cheeks and above the outer corners of your eyes, extending toward your temples. For a makeup application guide, make a large peace sign with your hand. Rotate it 90 degrees toward your nose. With your palms facing out, place the tip of the “V” at your hairline and align it with the corner of your eye, with your lower finger resting on your cheekbone. Concentrate the color on or one finger below that area on the cheek and above or just above that area around the eyes. Apply a second thin layer to the cheeks and blend lightly at the edges, as needed.
Eyes and Lines
Unless you like the look or have the right eye shape for it, avoid very thick lines, as they make your eyes look smaller and deeper-set. Try a colored eyeliner pencil and smudge it slightly if needed. With liquid eyeliner, one option is to dot the liner near the base of the lashes instead of creating a solid line. For a different look, limit the application of liquid eyeliner to the upper eyelid or the outer corners of the eyes. Smudged eyeshadow applied above the eyelids and blended into the outer corners of the eyes also creates a desirable effect; a highlighted brow bone enhances this effect.
Lips
Most lips benefit from definition, even when lipstick isn't usually used. For a natural but polished look, try a shade or two darker than the color of your lips, apply lip pencil, blend your lips a little and use a little gloss or lipstick.
Powder
When you want to avoid a shiny complexion, apply a light layer of translucent powder to your face to control shine and set your makeup. Focus on the T-zone as needed, and apply sparingly to areas with fine lines or dryness.
Eyebrows
Before applying make-up, make sure your eyebrows are the right shape, as they affect facial expression. As a guide, line a pencil vertically along the edge of the nostril and inner corner of the eye. Do the same for the outer corner of the eye. This is a good start and finish for the eyebrow. If the eyebrow arch needs help, align the pencil with the edge of the nostril and the outer edge of the iris to determine the highest point of the arch. Brush the eyebrows outside these areas and use an eyebrow pencil for even more definition.
Red Eyes
To brighten the whites of the eyes and minimize redness, outline the inner lower eyelid with a light blue eye pencil.
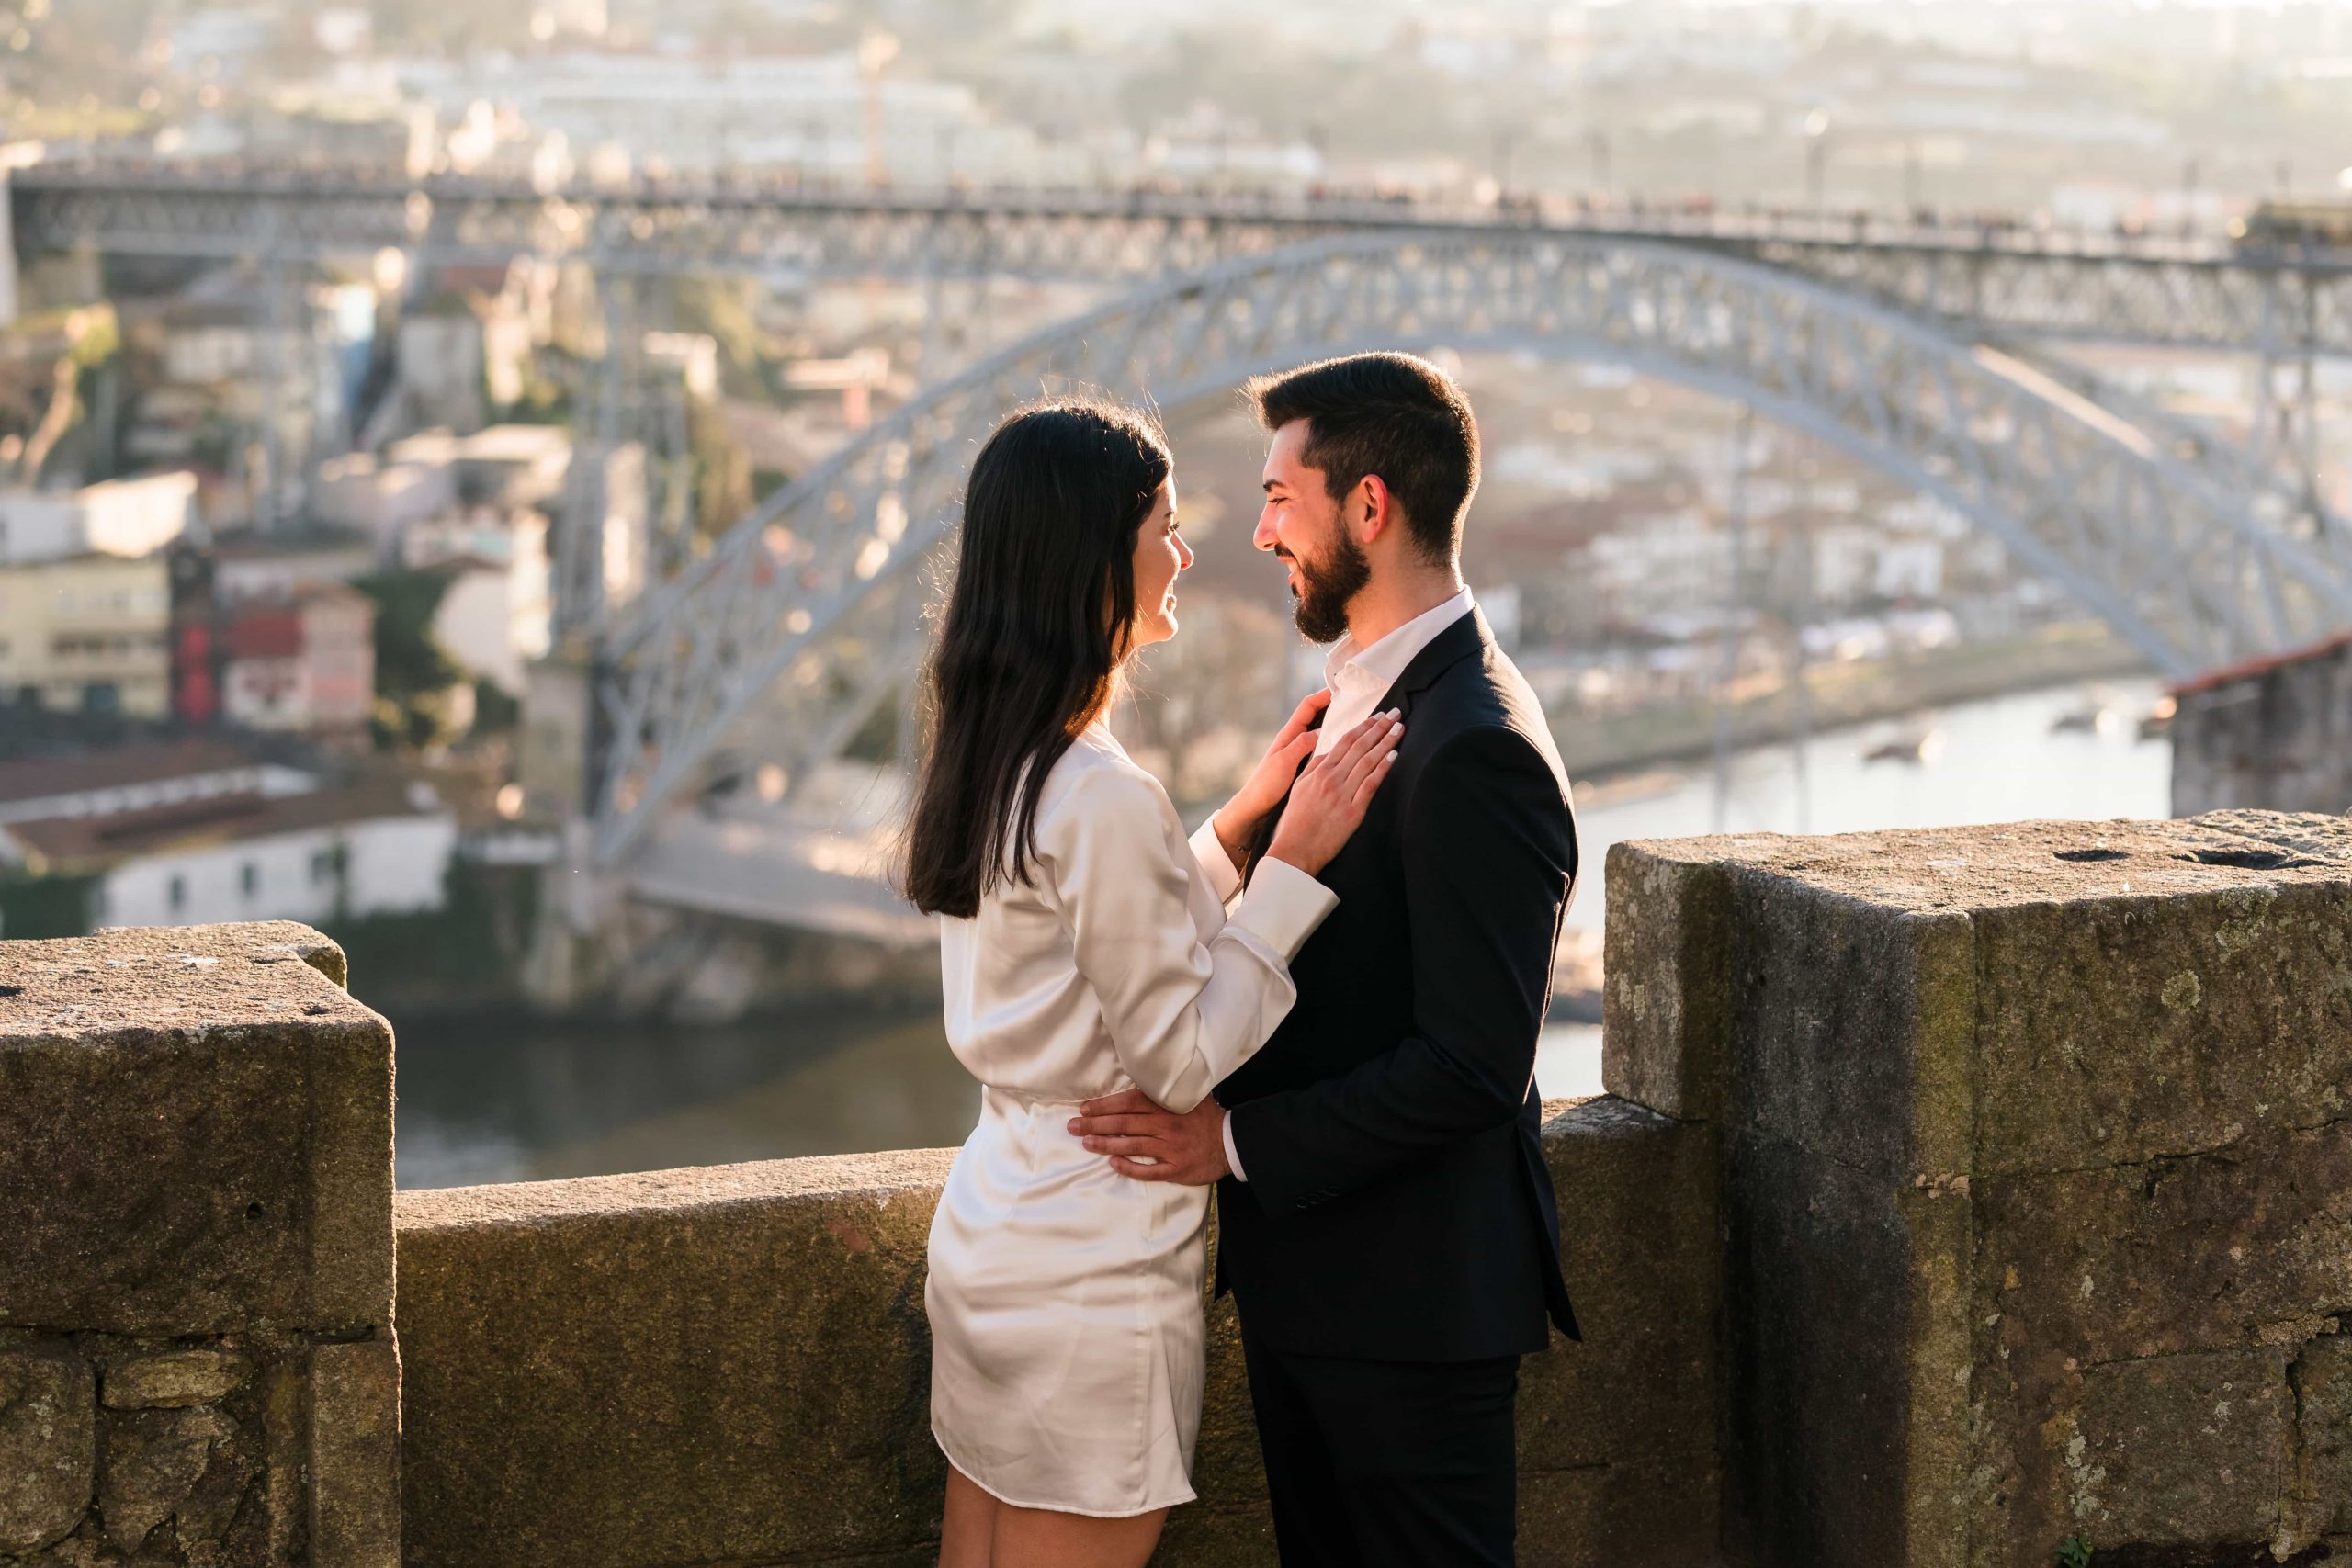

I’m Afonso!
I’m a wedding photographer in Porto, I capture the essence of your celebration, transforming every moment into timeless art. Here you’ll find reviews of the farms where we work, churches and other tips.
If you have any questions about your wedding planning trip, please contact me! I’d love to talk and help in any way I can! Until then, good planning!
Categories: